How to Use an Air Compressor for the First Time Guide
Using an air compressor for the first time is easier than you think. This guide walks you through setup, safety, operation, and maintenance so you can start your projects with confidence. You will learn how to connect hoses, set the right pressure, and keep your compressor running smoothly for years.
So you just bought your first air compressor and you are not quite sure where to start. Maybe you watched a few videos, read the manual cover to cover, and still feel a little overwhelmed. That is totally normal. A lot of first-time users feel the same way, and the good news is that getting started is much simpler than it looks.
An air compressor is one of the most versatile tools you can own. Whether you want to inflate tires, power pneumatic nail guns, or sand a deck, this machine has you covered. In this guide, we will walk you through everything you need to know about how to use an air compressor for the first time. You will learn setup, safety, operation, and basic maintenance. By the end, you will feel confident and ready to tackle your first project.
Before we dive in, let us talk briefly about something you might run into: power supply. If you plan to use your compressor on a job site or during a power outage, you may need a generator. A good rule of thumb is to check what size generator you need for your tools. You can learn more about sizing a generator for power tools here. This becomes especially important if you are running multiple tools at once.
Key Takeaways
- Know your compressor type: Portable and stationary models serve different needs, and choosing the right one matters.
- Setup is simple: Unbox, check oil, connect the hose, and plug in — you can be ready in under 30 minutes.
- Safety comes first: Always wear eye and ear protection and never exceed the tank pressure rating.
- Match your tools: Make sure your compressor delivers enough CFM and PSI for the pneumatic tools you plan to use.
- Maintenance keeps it running: Drain the tank, check oil levels, and inspect hoses regularly to prevent problems.
- Use a generator wisely: If you are powering your compressor off-grid, check the generator size and fuel needs carefully.
📑 Table of Contents
- Understanding Your Air Compressor
- Step-by-Step Setup for Your First Use
- Safety Tips Every Beginner Should Follow
- Common First-Time Tasks With an Air Compressor
- Powering Your Compressor With a Generator
- Maintenance Tips to Keep Your Compressor in Top Shape
- Common Mistakes First-Time Users Make
- Final Thoughts
Understanding Your Air Compressor
Before you plug anything in, it helps to understand what you are working with. Not all compressors are the same, and knowing the basics will make your first experience much smoother.
Types of Air Compressors
There are two main types you will encounter. The first is a portable compressor. These are compact, lightweight, and perfect for home garages and light-duty tasks. The second type is a stationary compressor. These are larger, more powerful, and built for heavy-duty workshop use. For your first time, a portable model is usually the best choice.
Key Parts You Should Know
Here are the main components of your compressor:
- Tank: This is where compressed air gets stored. Larger tanks mean longer run times between motor cycles.
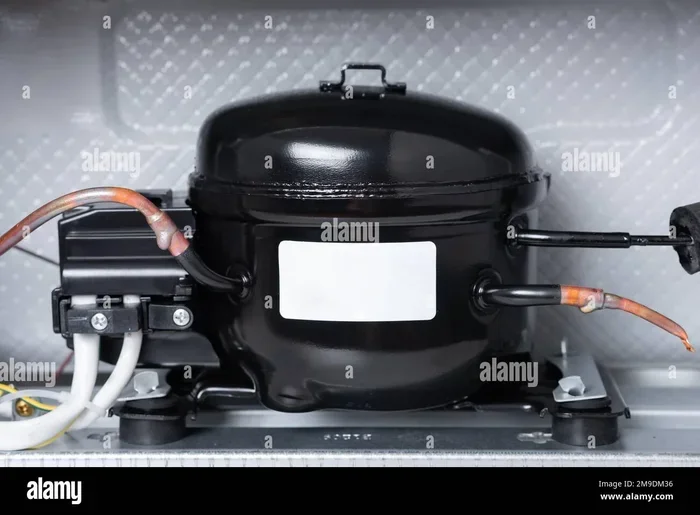
- Motor: This powers the compressor and draws in air to pressurize it.
- Pressure Gauge: This shows you the current PSI (pounds per square inch) inside the tank.
- Regulator: This lets you adjust the output pressure to match your tool.
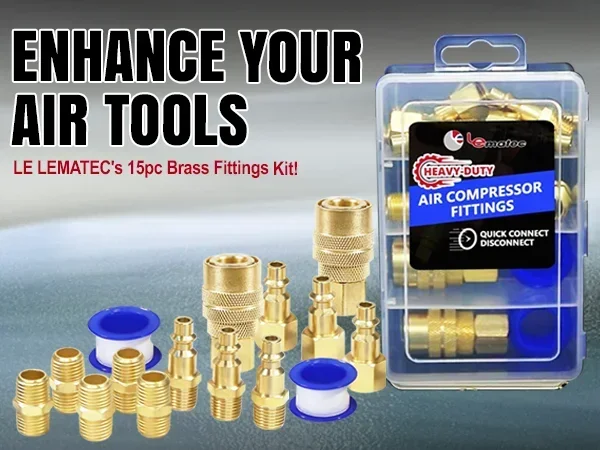
- Hose and Fittings: These connect the compressor to your pneumatic tools.
- Drain Valve: Located at the bottom of the tank, this releases moisture and condensation.
Understanding PSI and CFM
Two numbers matter most when you are choosing or using a compressor: PSI and CFM. PSI stands for pounds per square inch. It measures the pressure of the air. CFM stands for cubic feet per minute. It measures the volume of air the compressor delivers. Most basic home tasks need around 90 PSI and 2 to 4 CFM. If you plan to use heavier tools like an impact wrench, you will want higher numbers. Always check your tool’s requirements before you start.
Step-by-Step Setup for Your First Use
Now that you understand the basics, let us get your compressor ready. Follow these steps carefully, and you will be up and running in no time.
Step 1: Unbox and Inspect
Take your compressor out of the box and inspect it for any damage. Check the hose, fittings, and tank for visible cracks or loose parts. If anything looks damaged, do not use the unit. Contact the manufacturer or retailer for a replacement.
Step 2: Check the Oil Level
Many compressors use oil lubrication. Check the oil sight glass or dipstick before your first run. The oil level should be between the minimum and maximum marks. If it is low, add the recommended compressor oil. Do not overfill. Using the wrong type of oil can damage the motor over time.
Step 3: Place the Compressor on a Stable Surface
Set your compressor on a flat, level surface. Never place it on uneven ground or soft surfaces like grass. A stable base reduces vibration and prevents tipping. If you are using the compressor outdoors, make sure the surface is dry and firm.
Step 4: Connect the Hose
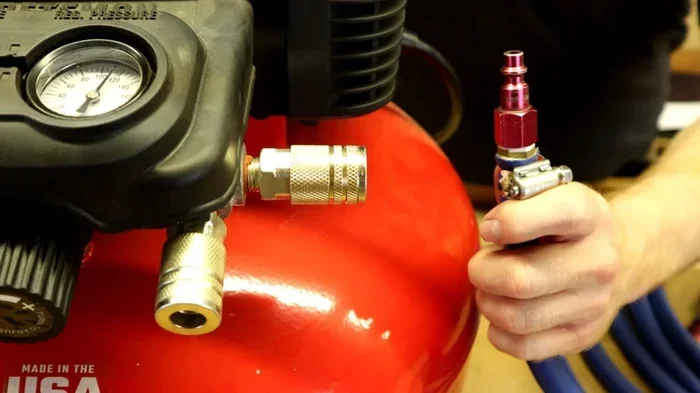
Attach the air hose to the compressor outlet. Most models use a quick-connect fitting, which makes this very easy. Push the fitting in, twist slightly, and it locks into place. Then connect the other end of the hose to your tool. Make sure all connections are tight before you turn on the power.
Step 5: Plug In and Power On
Plug the compressor into a grounded electrical outlet. Never use an extension cord that is too thin or too long — this can cause voltage drop and damage the motor. Flip the power switch to the “on” position. You should hear the motor start, and the tank will begin to fill with air.
Step 6: Set the Pressure Regulator
Once the tank reaches the cut-out pressure (usually around 120 to 150 PSI for home models), adjust the regulator to match your tool’s requirements. Never set the pressure higher than what your tool recommends. Using too much pressure can damage your equipment or create a safety hazard.
Safety Tips Every Beginner Should Follow
Safety is not optional when you are using compressed air. The air inside the tank is under extreme pressure, and mishandling it can lead to serious injury. Here is what you need to keep in mind.
Wear the Right Protective Gear
Always wear safety glasses when operating an air compressor or using pneumatic tools. If your compressor is loud (and most of them are), wear ear protection too. Heavy gloves can also help protect your hands from hot fittings and hose vibrations.
Never Exceed the Tank Rating
Every compressor tank has a maximum pressure rating printed on it. Do not try to push the compressor beyond that limit. The pressure relief valve is there for a reason — it automatically releases air if the pressure gets too high. Make sure this valve is working properly before each use.
Keep the Area Clear
Do not let children or pets near the compressor while it is running. Keep combustible materials away from the exhaust and motor. Compressed air can also blow dust and debris into your eyes or lungs, so wear a dust mask if you are working in a dusty environment.
Do Not Use Damaged Hoses or Fittings
A cracked hose or loose fitting can cause air leaks or even burst under pressure. Inspect your hoses before every use. Replace any damaged parts immediately. A small leak might seem harmless, but it wastes energy and reduces tool performance.
Be Careful With the Drain Valve
Always release the tank pressure before opening the drain valve. Point the valve away from your face and other people. Hot air and moisture will shoot out, and you do not want to be on the receiving end of that.
Common First-Time Tasks With an Air Compressor
Now for the fun part. Here are some of the most common tasks you can do with your new compressor. Each one is simple and perfect for beginners.
Inflating Tires
This is the most popular first task for new compressor owners. Attach the air nozzle to your tire valve, set the regulator to the recommended PSI (usually between 30 and 35 for passenger cars), and start filling. Check the pressure with a tire gauge as you go. Most compressors will shut off automatically when the tank pressure drops below the cut-in level, so you can just watch the tire pressure and stop when you reach the target.
Powering a Nail Gun
If you are doing a home improvement project like framing or finishing work, a pneumatic nail gun is a game-changer. Connect the nail gun to the hose, set the pressure to around 70 to 100 PSI, and you are ready to drive nails quickly and cleanly. Always keep your fingers off the trigger until you are ready to fire, and never point the gun at anyone.
Sanding and Painting
A sander or paint sprayer powered by compressed air gives you a smooth, even finish that is hard to achieve by hand. Set your regulator to the pressure recommended by the tool manufacturer. For most sanders, 50 to 90 PSI works well. For paint sprayers, check the manual — some need lower pressures to avoid overspray.
Cleaning Debris
Compressed air is great for blowing dust and debris out of hard-to-reach places. You can clean your workbench, blow out electronic components, or clear sawdust from corners. Just be careful not to aim the air stream at your skin or anyone else. Even low-pressure air can cause injury.
Powering Your Compressor With a Generator
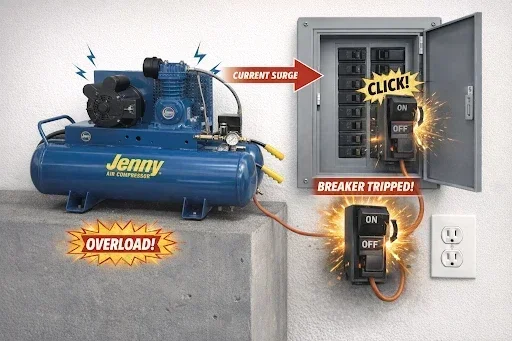
If you are planning to use your air compressor away from a wall outlet, a generator is a great solution. However, not all generators can handle the electrical load of a compressor. The compressor motor needs a surge of power to start, which is higher than its running wattage. Make sure your generator can handle this surge. You can find guidance on what size generator to run power tools to make sure you are not caught off guard.
When using a generator, pay attention to fuel consumption. Running a compressor on a generator will use more fuel than running the compressor alone on mains power. If you want to estimate your fuel costs, check out this guide on how much gas a generator uses. It will help you plan for longer jobs or off-grid projects.
Also, keep in mind that generators have a limited run time on a single tank of fuel. If you have a long job ahead, you might need to refuel or choose a model with a large fuel tank. Learning how long a generator can run will help you plan your work schedule and avoid unexpected shutdowns in the middle of a task.
Maintenance Tips to Keep Your Compressor in Top Shape
A well-maintained compressor lasts longer and performs better. The good news is that basic maintenance takes only a few minutes and does not require any special skills.
Drain the Tank After Every Use
Moisture from the air collects inside the tank over time. This can cause rust and reduce the tank’s lifespan. After each use, open the drain valve and let the moisture escape. Do this while the tank is still warm (but depressurized) for best results. Make it a habit, and your tank will stay in great shape for years.
Check the Oil Regularly
If your compressor is oil-lubricated, check the oil level before every use. Change the oil according to the manufacturer’s recommendations, usually every 500 hours of operation or once a season. Using clean oil keeps the motor running smoothly and prevents overheating.
Inspect the Air Filter
A clogged air filter forces the motor to work harder, which wastes energy and shortens the compressor’s life. Check the filter every few uses and clean or replace it when it looks dirty. This is one of the easiest maintenance tasks, and it makes a big difference.
Check Hoses and Fittings
Over time, hoses can develop small cracks or fittings can loosen. Inspect everything before each use. Tighten any loose connections and replace damaged hoses right away. This prevents air leaks and keeps your tools running at full pressure.
Store Your Compressor Properly
When you are not using your compressor, store it in a clean, dry place. Cover it to keep dust out. If you are storing it for an extended period, drain the tank completely and disconnect the power cord. This protects the motor and prevents moisture buildup.
Common Mistakes First-Time Users Make
Even with the best intentions, beginners sometimes make mistakes that can damage their compressor or create safety risks. Here are a few to watch out for.
- Overfilling the tank: Never let the pressure exceed the tank’s rated maximum. The pressure relief valve will release excess air, but you should not rely on it as a regular practice.
- Skipping the drain: Letting moisture sit in the tank leads to rust and eventually tank failure. Always drain after use.
- Using the wrong regulator setting: Setting the pressure too high for your tool can damage it. Always match the regulator to the tool’s requirements.
- Ignoring oil changes: Running an oil-lubricated compressor without fresh oil causes excessive wear on the motor.
- Using an undersized generator: If you are running the compressor off a generator, using one that is too small can cause the motor to stall or overheat.
Final Thoughts
Using an air compressor for the first time does not have to be intimidating. Once you understand the basic parts, follow the setup steps, and stick to safety guidelines, you will find it is one of the most rewarding tools in your workshop. Start with simple tasks like inflating tires or using a nail gun, and gradually work your way up to more advanced projects as your confidence grows.
Remember to maintain your compressor regularly. Drain the tank, check the oil, and inspect your hoses. These small habits will keep your machine running reliably for years. And if you ever need to power your compressor with a generator, make sure you have the right setup in place. With the knowledge you have gained from this guide, you are well on your way to becoming a confident and capable compressor user.
Now go ahead, fire up your compressor, and start your next project. You have got this!
Frequently Asked Questions
Do I need to break in my new air compressor?
Yes, most manufacturers recommend running the compressor for about 30 minutes without any tools connected. This allows the oil to circulate and the motor to settle. After the break-in period, you can start using it normally. Check your owner’s manual for specific instructions.
Can I use an air compressor indoors?
You can, but you should take precautions. Make sure the area is well-ventilated because compressors produce exhaust fumes and heat. Also, keep the noise level in mind — compressors can be loud, so ear protection is recommended even indoors.
How often should I drain my compressor tank?
You should drain the tank after every use. Moisture from the compressed air collects at the bottom of the tank and can cause rust over time. Simply open the drain valve and let the moisture and air escape. It only takes a few seconds.
What is the difference between oil-lubricated and oil-free compressors?
Oil-lubricated compressors use oil to reduce friction in the motor and pump. They tend to be more durable and quieter but require regular oil checks. Oil-free compressors come pre-lubricated and require less maintenance, but they may not last as long under heavy use. For occasional home use, an oil-free model is usually sufficient.
Can I connect multiple tools to my air compressor at once?
Yes, but you need to make sure your compressor can handle the combined CFM requirements of all the tools. If the total demand exceeds what your compressor can deliver, the pressure will drop and your tools will not perform properly. Always check the CFM ratings before running multiple tools simultaneously.
What should I do if my compressor keeps shutting off?
A compressor that shuts off frequently may be overloading the motor, often because the demand exceeds the supply. Check that your regulator is set correctly and that your hoses and fittings are not leaking. If the problem persists, the pressure switch or motor may need inspection. Refer to the troubleshooting section of your owner’s manual or contact the manufacturer.